노트북 ML 워크플로우
GenD의 JupyterHub 노트북 환경에서 Trino로 데이터를 로드하고, ML 모델을 학습하여 MLflow에 기록하는 전체 워크플로우를 안내합니다.
사전 준비
- 관리자 또는 analyst 역할로 로그인
- JupyterHub가 배포되어 있어야 합니다
- MLflow 서버가 실행 중이어야 합니다
mlflow 클라이언트는 노트북 이미지(JupyterLab gend-singleuser · VS Code gend-singleuser-codeserver 모두)에 트래킹 서버와 정합 버전(현재 3.15.1)으로 사전 설치되어 있어, 어느 profile을 선택하든 별도 %pip install 없이 아래 4~6단계의 import mlflow가 바로 동작합니다. 만약 ModuleNotFoundError: No module named 'mlflow'가 나면 이미지가 mlflow 포함 버전으로 재빌드/재스폰되지 않은 것입니다(#2392). 임시 우회는 %pip install mlflow==3.15.1.
1단계: 노트북 서버 시작
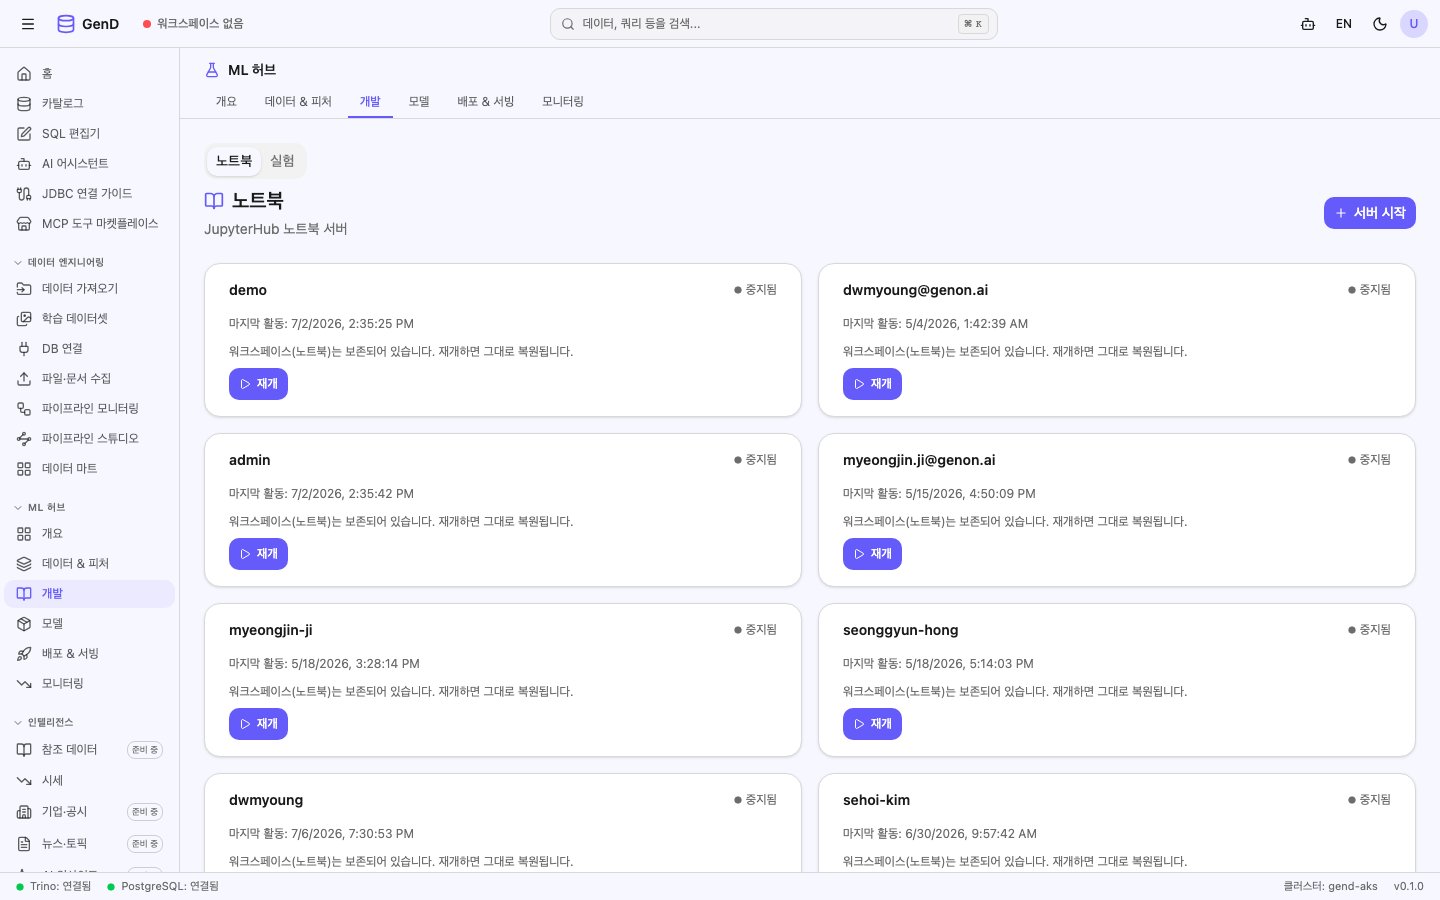
- 사이드바 → ML 허브 → 개발 스테이지의 노트북 탭(
/ml-hub/develop?tab=notebooks)을 클릭합니다 (구 "노트북" 단독 메뉴는 이 탭으로 자동 리다이렉트). - Start Server 버튼을 클릭합니다.
- 서버가
starting→running상태가 될 때까지 대기합니다 (약 30초). - JupyterLab 열기 링크를 클릭하면 JupyterLab 인터페이스가 열립니다.
2단계: Trino로 데이터 로드
JupyterLab에서 Python 3 노트북을 새로 생성하고 다음 코드를 실행합니다:
# Trino 연결 설정
from trino.dbapi import connect
import pandas as pd

conn = connect(
    host="trino.gend.svc.cluster.local",
    port=8080,
    user="notebook-user",
    catalog="tpch",
    schema="tiny",
)

# 데이터 로드
df = pd.read_sql("SELECT * FROM customer", conn)
print(f"로드된 행 수: {len(df)}")
df.head()
3단계: 데이터 탐색 및 전처리
import matplotlib.pyplot as plt

# 시장 세그먼트별 고객 수
segment_counts = df["mktsegment"].value_counts()
segment_counts.plot(kind="bar", title="시장 세그먼트별 고객 분포")
plt.tight_layout()
plt.show()

# 결측치 확인
print(df.isnull().sum())
4단계: 모델 학습
from sklearn.ensemble import RandomForestClassifier
from sklearn.model_selection import train_test_split
from sklearn.metrics import accuracy_score
import mlflow

# 피처 준비 (예: 시장 세그먼트 예측)
df_encoded = pd.get_dummies(df[["acctbal", "nationkey"]])
y = df["mktsegment"]

X_train, X_test, y_train, y_test = train_test_split(
    df_encoded, y, test_size=0.2, random_state=42
)

# MLflow 실험 추적
mlflow.set_tracking_uri("http://mlflow.gend.svc.cluster.local:5000")
mlflow.set_experiment("customer-segmentation")

with mlflow.start_run(run_name="rf-baseline"):
    model = RandomForestClassifier(n_estimators=100, random_state=42)
    model.fit(X_train, y_train)

    accuracy = accuracy_score(y_test, model.predict(X_test))
    mlflow.log_metric("accuracy", accuracy)
    mlflow.log_param("n_estimators", 100)
    mlflow.sklearn.log_model(model, "model")

    print(f"정확도: {accuracy:.4f}")
5단계: MLflow에서 결과 확인
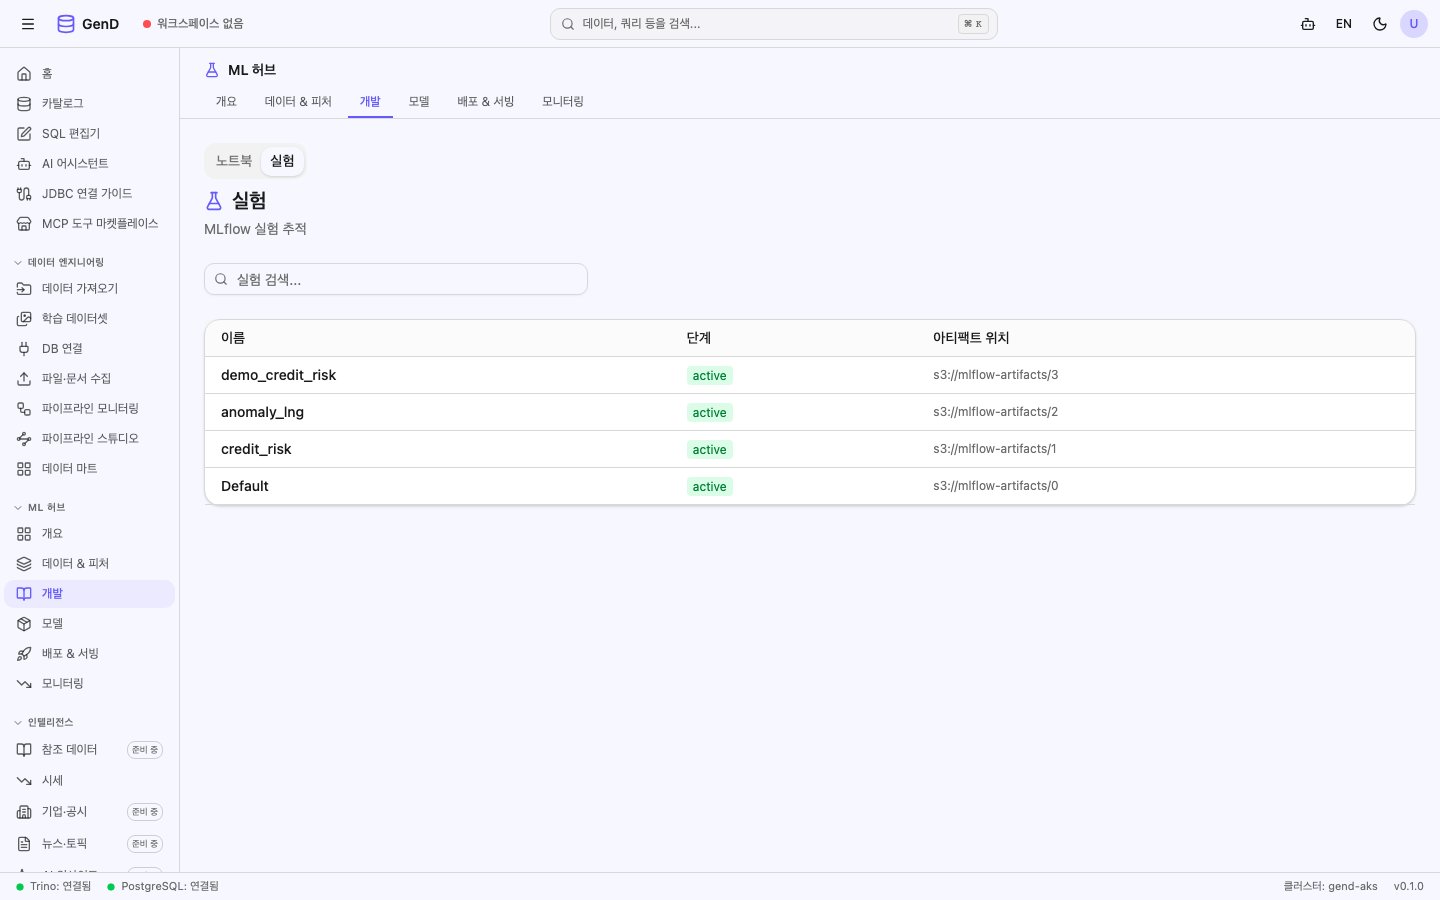
- GenD 사이드바 → ML 허브 → 실험 스테이지(
/ml-hub/experiments)를 클릭합니다. customer-segmentation실험을 선택하면 방금 기록한 run을 확인할 수 있습니다.- 메트릭, 파라미터, 아티팩트를 비교하여 최적 모델을 선택합니다.
6단계: 모델 등록
성능이 만족스러우면 MLflow 모델 레지스트리에 등록합니다:
# 최적 모델을 레지스트리에 등록
model_uri = f"runs:/{mlflow.active_run().info.run_id}/model"
mlflow.register_model(model_uri, "customer-segment-predictor")
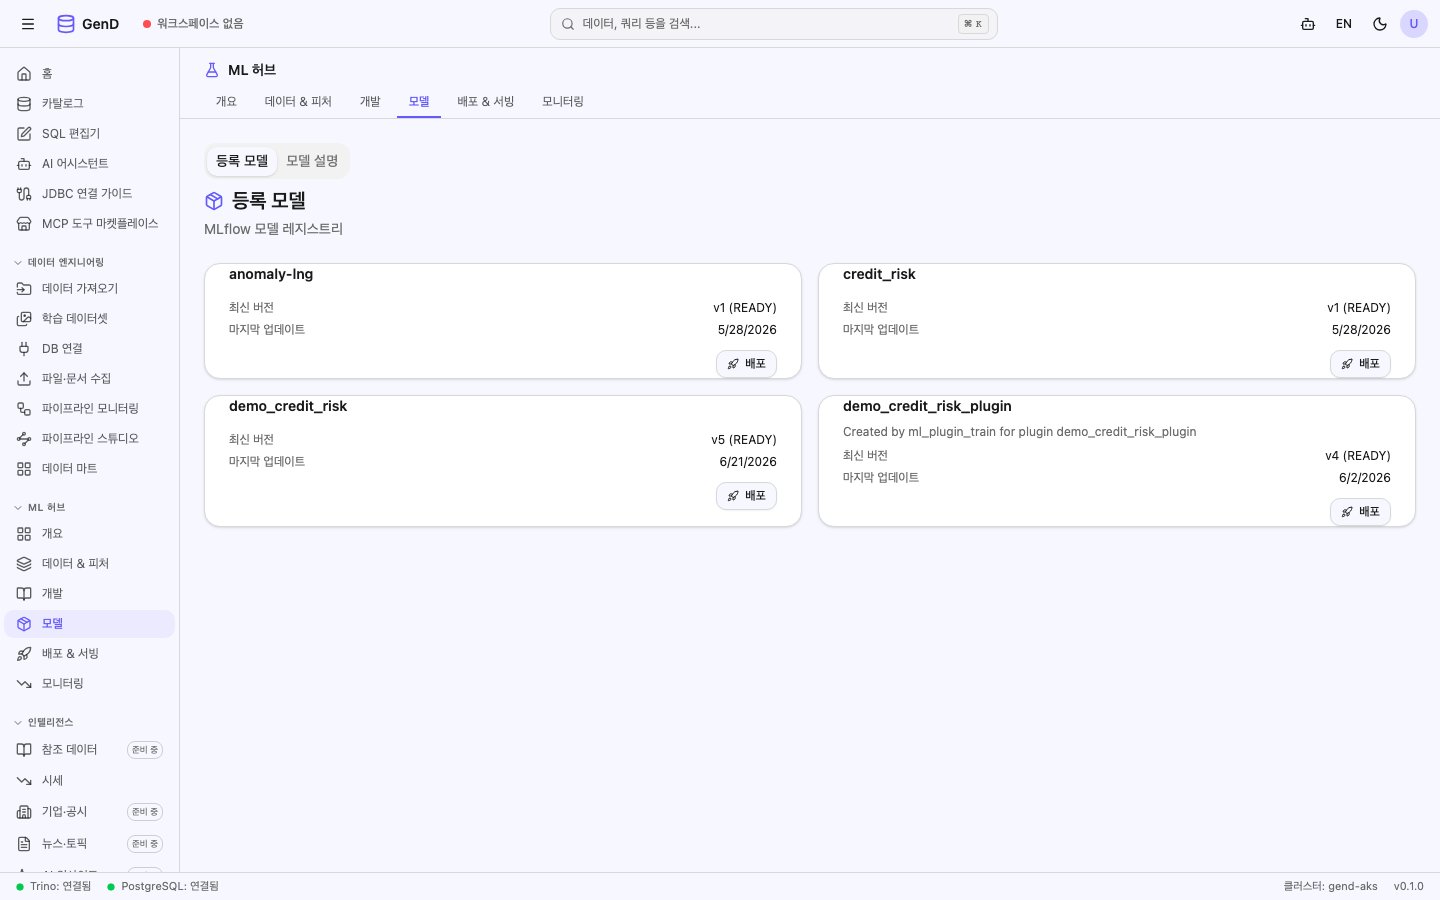
등록된 모델은 GenD 사이드바 → ML 허브 → 모델 스테이지(/ml-hub/models?tab=registered)에서 확인할 수 있습니다.
7단계: 노트북 서버 정리
작업이 완료되면 리소스 절약을 위해 노트북 서버를 정지합니다:
- GenD ML 허브 → 개발 스테이지의 노트북 탭으로 돌아갑니다.
- 실행 중인 서버의 Stop 버튼을 클릭합니다.
노트북에서 작성한 .ipynb 파일은 서버를 정지해도 보존됩니다. 다음에 서버를 재시작하면 이전 파일이 그대로 남아 있습니다.
MLflow 실험 관리 심화
실험 비교
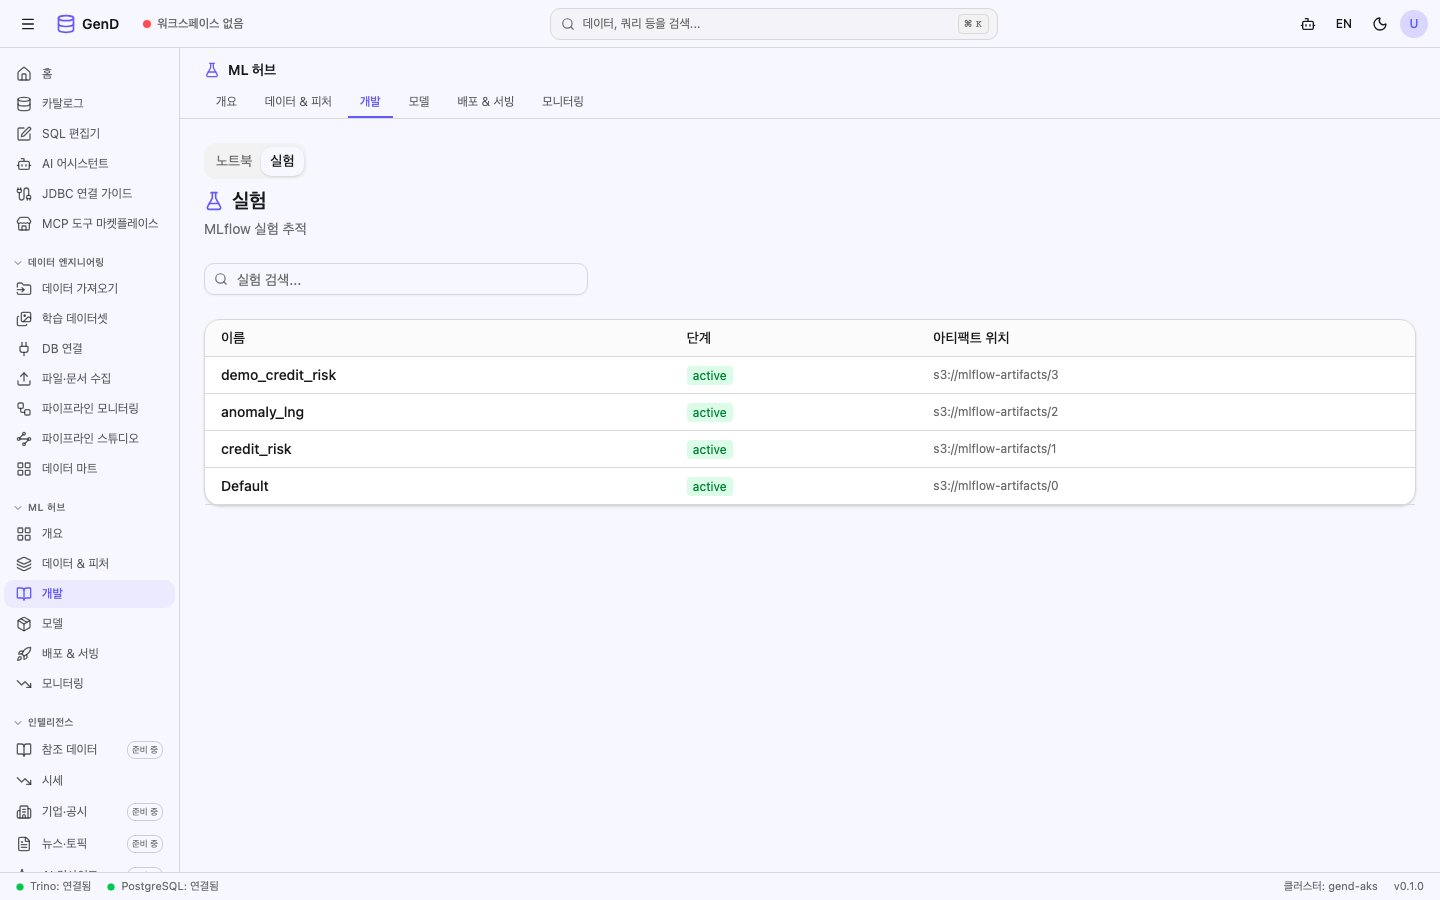
GenD의 ML 허브 → 개발 스테이지 실험 탭에서 여러 run을 비교할 수 있습니다.
| 기능 | 설명 |
|---|---|
| 메트릭 비교 | accuracy, loss 등 메트릭 비교 차트 |
| 파라미터 비교 | 하이퍼파라미터 차이 확인 |
| 아티팩트 | 모델 파일, 그래프 이미지 등 |
| 태그 | 실험에 태그 추가 (예: best, baseline) |
실험 추가 실행
하이퍼파라미터를 변경하여 여러 run을 비교합니다:
for n_est in [50, 100, 200]:
    with mlflow.start_run(run_name=f"rf-n{n_est}"):
        model = RandomForestClassifier(n_estimators=n_est, random_state=42)
        model.fit(X_train, y_train)
        accuracy = accuracy_score(y_test, model.predict(X_test))
        mlflow.log_metric("accuracy", accuracy)
        mlflow.log_param("n_estimators", n_est)
모델 레지스트리 심화
모델 버전 관리
GenD의 ML 허브 → 모델 스테이지(등록 모델)에서 모델의 버전 이력을 관리합니다.
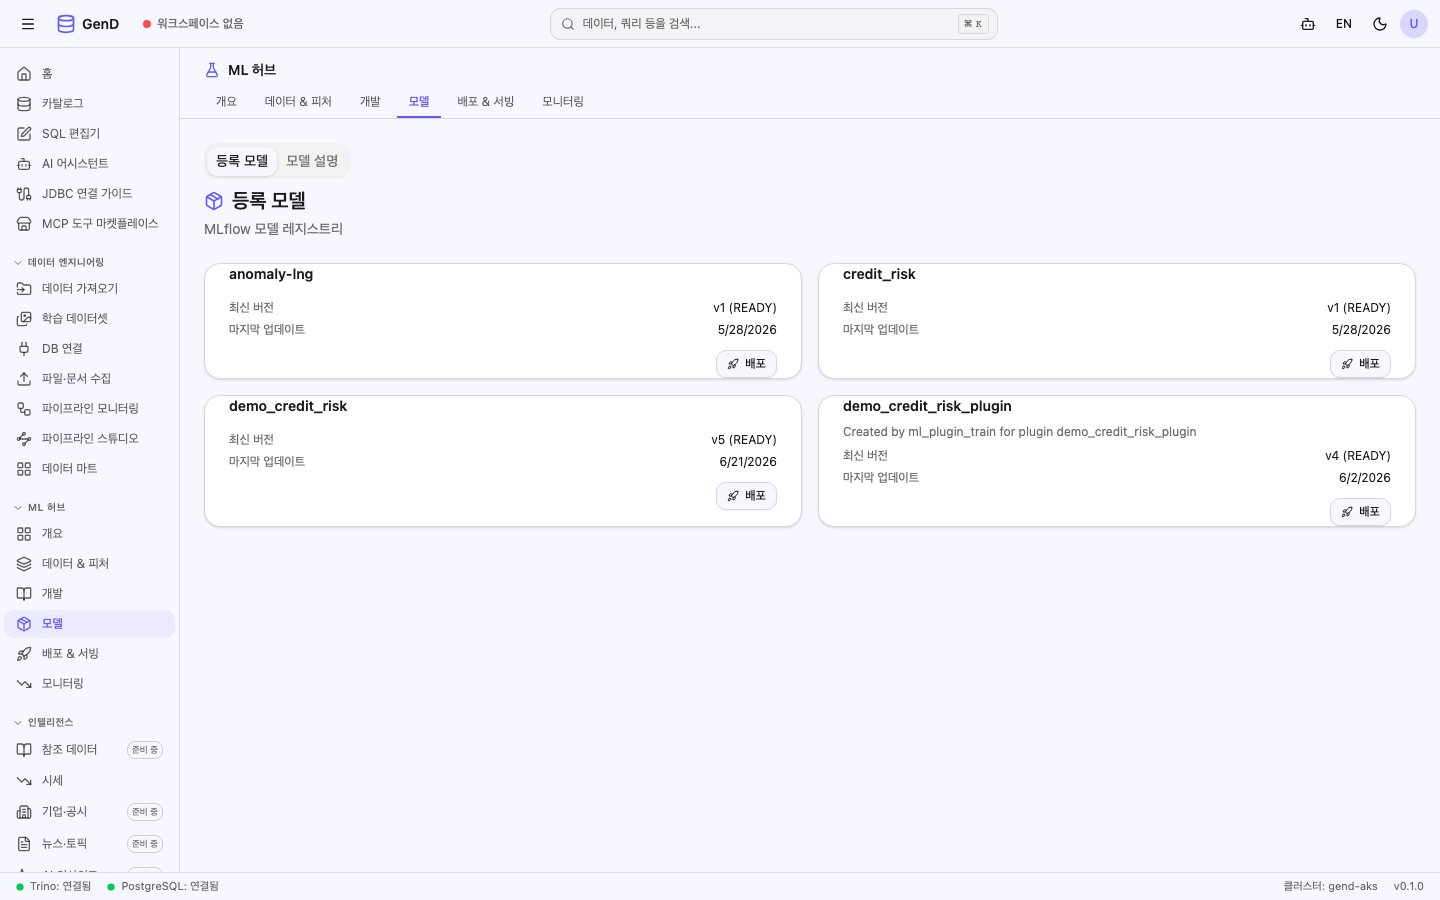
| 상태 | 설명 |
|---|---|
| None | 초기 등록 상태 |
| Staging | 테스트/검증 단계 |
| Production | 운영 배포 상태 |
| Archived | 보관 (비활성) |
모델 스테이지 전환
from mlflow.tracking import MlflowClient

client = MlflowClient()
client.transition_model_version_stage(
    name="customer-segment-predictor",
    version=1,
    stage="Production"
)
피처 스토어 활용
학습에 사용한 피처를 피처 스토어에 등록하면 모델 서빙 시 일관된 피처를 제공받을 수 있습니다.
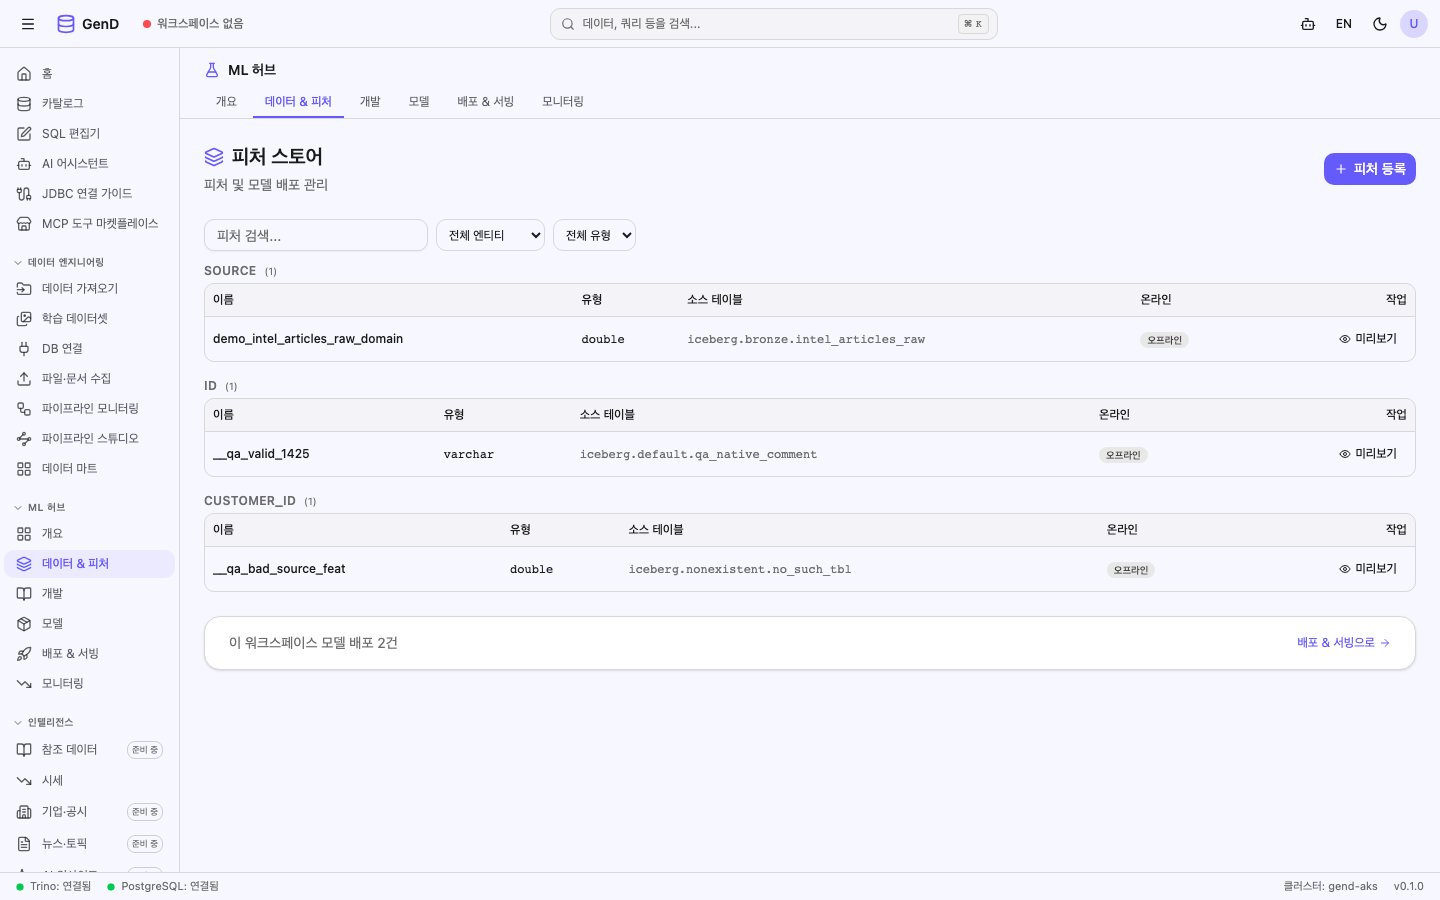
GenD ML 허브 → 데이터 & 피처 스테이지(/ml-hub/features — 피처 스토어)에서 등록된 피처를 확인합니다:
- 피처 이름 — 피처 식별자
- 엔티티 키 — 조인 키 (예:
customer_id) - 유형 — integer, float, string 등
- 소스 테이블 — 원본 데이터 출처